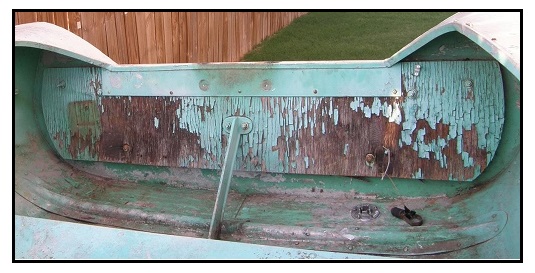
TinBoats member Johnny gives us another article on how to build a Transom. Many people wonder what it takes to rebuild a rotted out Transom, and here is a way to go about it. As always, if you have any questions, feel free to post a question below in the comments or reach out to the members on the forum. Thanks for the article Johnny!
Fabricating a Boat Transom – Tutorial
If you ask 12 people how to fabricate a boat transom, you will get 14 answers. This is just one of many techniques of how to fabricate a heavy duty transom panel. Each builder should make their own decisions for what suits them the best.
List of Materials:
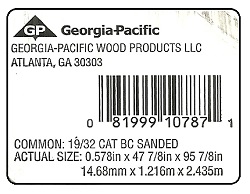
Plywood: Georgia Pacific exterior B/C grade – 3/4″ which is actually .578″ or whatever is available at your Big Box Store.
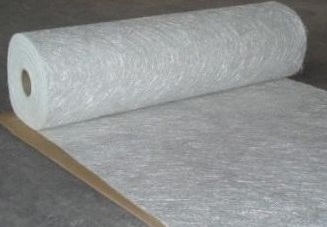
Fiberglass Mat: 2 oz. biaxial chopped strand
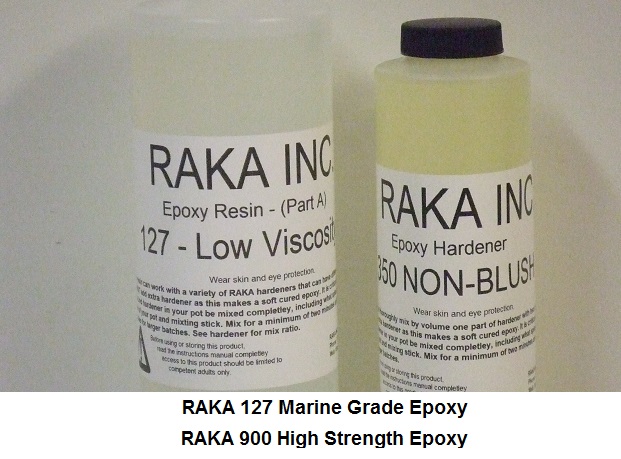
Epoxy: RAKA 900 High Strength – Medium Viscosity (optional)
Epoxy: RAKA 127 Marine Grade – Low Viscosity (optional)
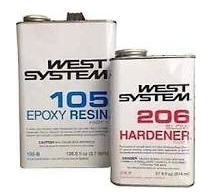
West System (optional)
A slow cure hardener will allow more time to get the fabrication assembled before the resin starts to gel. It took almost a whole quart kit of epoxy to do this one 14” x 53” panel. For each square yard of mat it takes approximately one and a half quarts of resin, so plan accordingly.
Procedure:
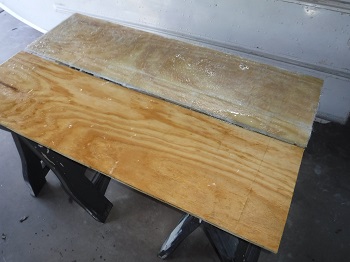
Cut two panel blanks a bit larger than required. Wet out the back side of each panel with epoxy. Apply glass mat to one panel and wet it out and remove all air bubbles.
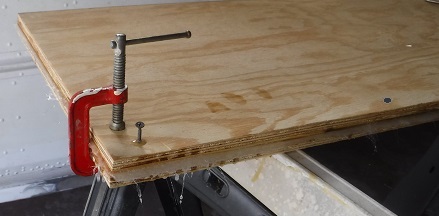
Put the second panel on top of the glassed panel, even up the straight edges, clamp firmly on ONE edge, install 1″ screws along ONE edge to keep the two pieces from sliding – remove clamps.
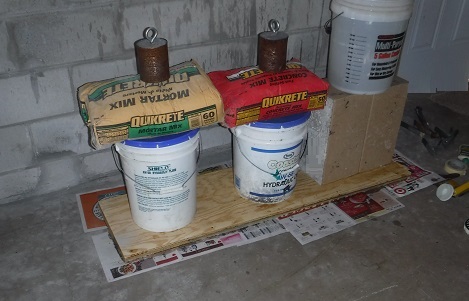
Using the flattest floor surface you can find, put down 4 layers of newspaper to keep epoxy from getting on the floor. Place heavy weights evenly on the assembled panel and remove the screws. Let this sit for at least 12 hours under pressure.
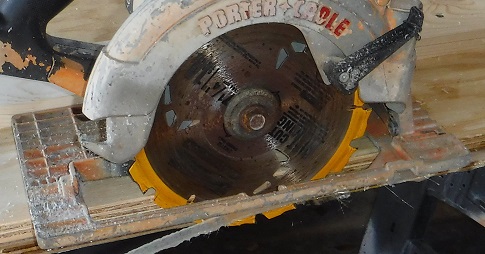
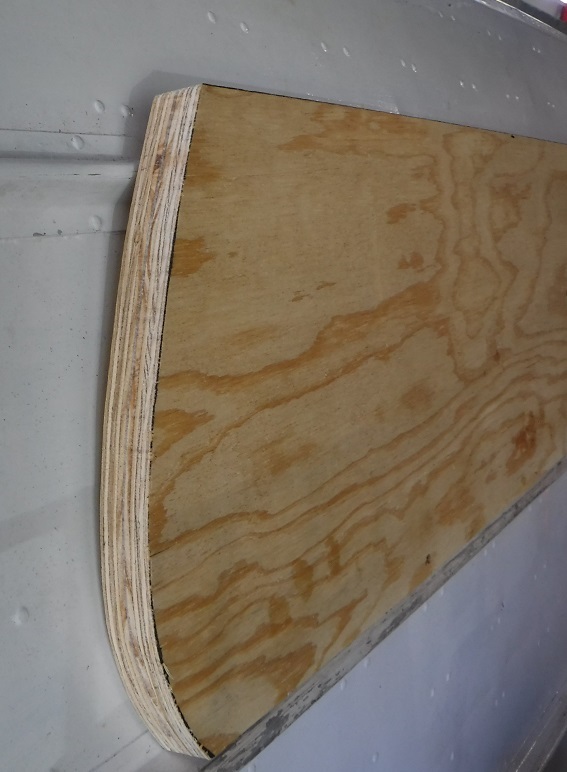
After this, cut to shape with your template, sand with power sander and vacuum well.
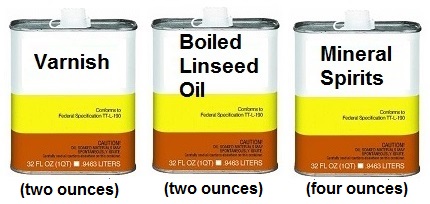
Next step is to prepare the three product sealer of one part spar varnish, one part boiled linseed oil and two parts mineral spirits.
Saturate all edges first, then saturate each side of the panel. Wipe off the excess when it begins to puddle and the wood will not absorb any more sealer. Let this air dry for at least 48 hours with the ambient temperature above 70*f. Apply two or more coats of spar varnish or primer and paint of your choice. Next step is to dry fit the transom into your boat, mark the location of the fasteners and remove the panel.
Next, drill the holes oversized and apply masking tape one side of the holes. With the panel on a flat surface, fill the holes with epoxy and remove all air bubbles. Let this cure for 12 hours. Ambient temperature is not critical with a two-part epoxy as it is with glue. Install the transom board and clamp into place. Drill the required holes and button it up with stainless bolts. Use 3M-5200 sealant as required. It is not recommended to use an adhesive between the transom panel and the metal hull.
Address any metal deficiencies such as corrosion with the proper cleaning methods. A couple coats of exterior metal primer applied to the metal hull is recommended prior to installing the new transom panel. If the natural wood look of the transom is desired, apply a few coats of marine grade Spar Varnish (sanding between coats). If you choose to coat the panel with epoxy, that is acceptable. Epoxy resin is not UV tolerant and will degrade over time if not protected with a
good grade of pure SPAR varnish – not polyurethane. Apply a few thin coats of Spar Varnish every season to maintain the UV protection.
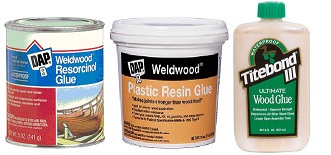
If you prefer to use a liquid wood glue such as Titebond III,do the same process as above without using the fiberglass. Wood glue and fiberglass mat is NOT compatible, the glue will not dry properly when trapped in the glass mat. Skim coat both mating surfaces completely with generous amounts of Titebond III or your choice of a liquid waterproof glue.
Apply as much weight as you can find and let it sit for at least 12 hours at 70*f. If you use the “running bead” or “serpentine track” pattern, it “may” invite water to infiltrate between the two panels. So a very generous film of glue on both panels, especially along the edges will block all avenues of water intrusion. Follow up with the 3 product sealer and varnish or paint of your choice.
Read, Understand and Follow the instructions on the label of any and all products you may use. Observe all safety precautions.
Johnny/2017
** DISCLAIMER: TinBoats.net and/or members of blog.tinboats.net will not and can not be held legally responsible and/or liable for any information, suggestions or endorsements for any modifications/alterations or products that you may use to repair or modify your own personal boat, watercraft, motor or trailer from the original manufacturers specifications. It is the responsibility of the boat owner to use his/her best judgment as to modifying or altering the structural integrity of the boat hull, trailer or motor as designed and built by the manufacturer.

…so glad I found this!
A timeless piece of good information…Thank you.