This article is about building a Livewell. Many of the older Jon boats we buy today are not equipped with livewells, and in order to fish tournaments, we’re required to keep fish alive by means other than a stringer. A cooler or Rubbermaid container can accommodate the requirements with added aeration – this Livewell mod takes it a step farther.
OK.. I know a few of you have been waiting for this.. and it actually works (tried it out today).
So first things first… I bought a 500 GPH bilge to serve as my aerator AND bilge for the Livewell. So after I got this, I went to Home Depot to buy some plumbing supplies. I had an idea of what I wanted it to do, but I didn’t know what all I would have to have because I forgot to look at the diameter sizes of the bilge, so I call bassboy1 from HD and he gives me all the details as I knew he would. I should mention, this is actually his design – I just kind of tweaked it a little bit.
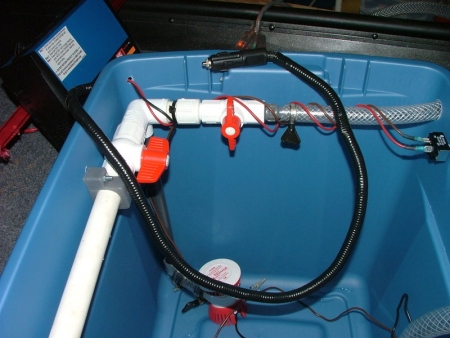
I’m pretty sure the hose size that I bought is 3/4″ OD (outside diameter) and the ID (inside diameter) is 5/8″. Either way, the hose clamps snugs it up securely and it’s in the livewell underwater so I’m not worried about leaking. That hose runs from the bilge pump to the first 45 pvc. I got 1/2″ threaded elbows, and the gray pvc is actually a 12″ riser which is used for sprinkler systems. I would have used regular pvc, but this was only .99 cents and I wouldn’t have to buy a full stick of 10′ since they won’t sell in pieces.
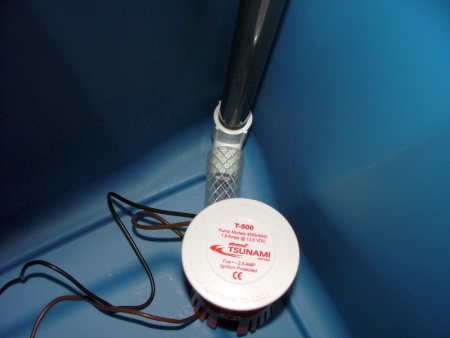
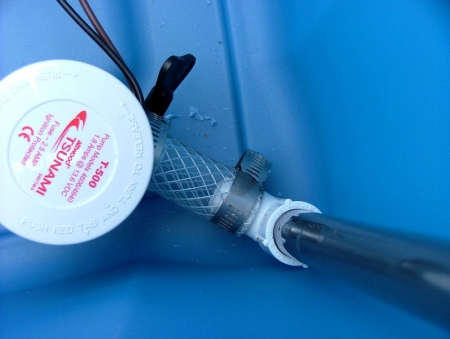
On the top of the riser, I put a 1/2″ – 3/4 Side Outlet 90. The side coming up from the riser is threaded 1/2″ fips (female threaded) and the 90 is 3/4″. The pump is not fastened to the bottom of the livewell. There are 2 pvc clamps that are attached to the aerator pipe – this keeps the whole thing in the same position.
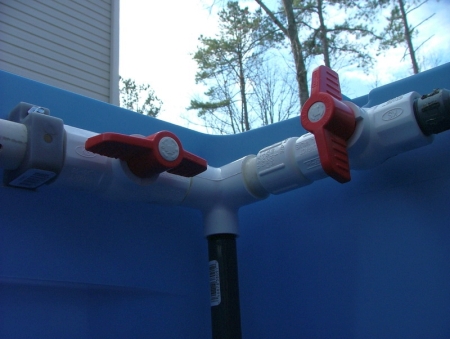
One side at a time…… The aerator side first.
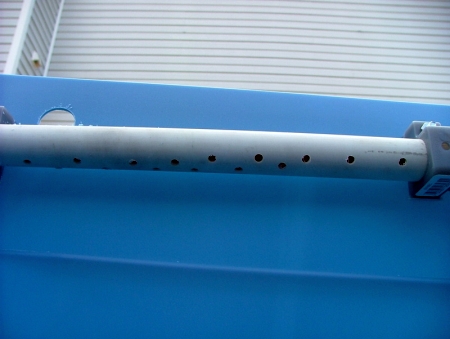
Coming out the right side is 3/4″ pvc into a 3/4″ PVC Ball check valve. The next piece is about 18″ of 3/4″ pvc which has holes drilled in various places. I didn’t care if I had a straight line of holes, I actually offset them one after the other so water would hit all over the livewell. In the very end is a 3/4″ cap.
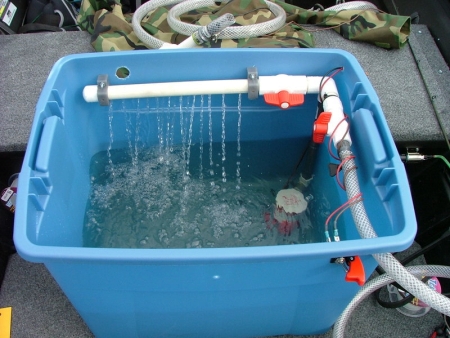
Bilge Side….
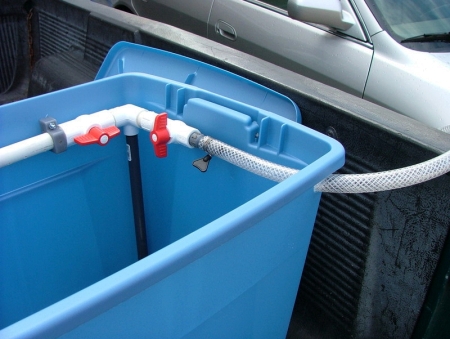
This side has about a 1.5″ of 3/4″ PVC that goes into a reducer. I took this from 3/4″ down to 1/2″ because I didn’t want to buy more hose. I bought a 10′ section and it was expensive because I got all they had in that one spot. They do have cheaper and I would suggest getting that. This 10′ roll was about $18, ridiculous…
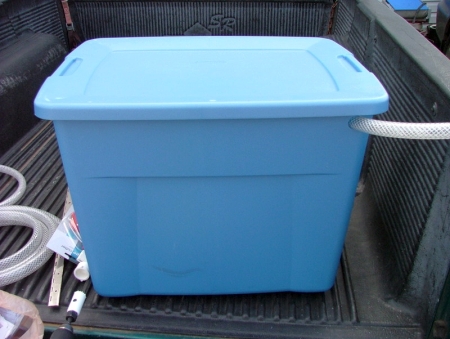
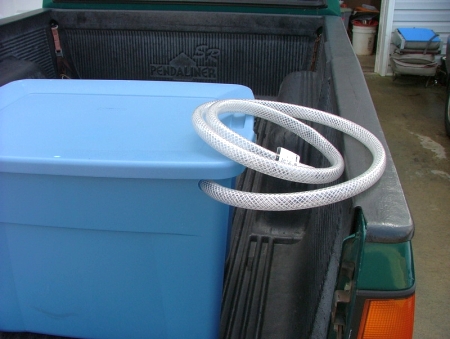
Anyways, the reducer is male threaded on the 1/2″ side, and it screws directly into the 1/2″ ball check valve. The fitting coming out of the check valve is a slip barbed adapter, which will let the hose slide right upon and then a hose clamp to hold it in place. The hose is about 40″ long and I drilled a hole dead even on the tub so that it can run straight out the front of the Livewell and can be hung over the side when I’m ready to empty the Livewell. When it’s not hanging over the side, I can fold it up out of the way to the side.
Wiring…
Wiring is a little tricky. I wanted this to serve multiple purposes, so I installed a 12v power source for the Livewell to plug in to. First was the cigarette lighter so I would know how much wire I needed to add to my Livewell pump depending on its’ location.
I started at a 12v power source. I plugged a few different adapters into it so that I could make sure that no matter where I installed it, everything with a 12v power adapter could plug into it. So, right in front of the rear bench, next to the sidewall is where it was placed. It also made running wires to the battery easy because I could just run them down the sidewall channel.
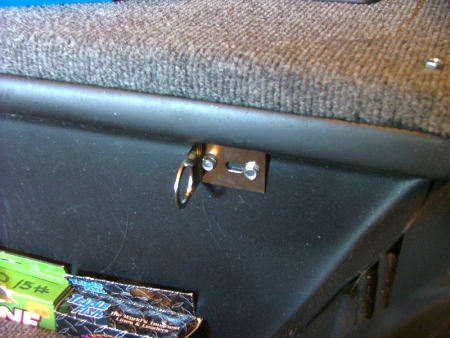
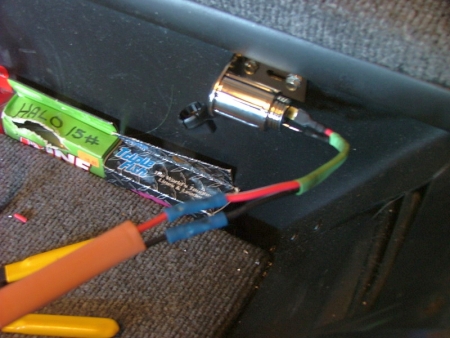
With that in, I need to get power from the battery. I found an old Minn Kota battery connector and fabricated it to work for me. This allows me to simply unplug the power source to the connector. Now this connector has 10ga wire, and I’m running 14ga. To make 14ga fit in a 10ga connector, strip off a little more line and bend it back over itself… then you can just crimp it down.
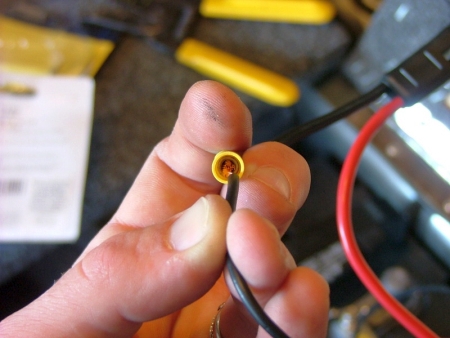
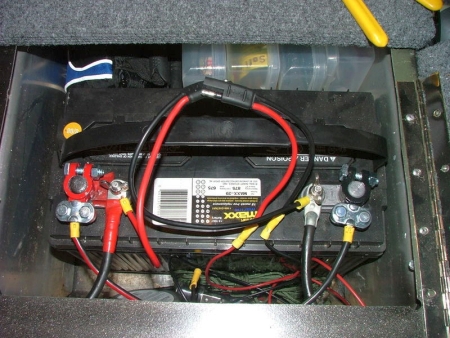
Here’s what I have at the battery. This is one battery that is ran in parallel to another battery on the other side of the bench. The main terminals with the large connectors is my front trolling motor. On the studs, there is the trolling motor connector which powers the 12v power source, and the other is the 4ga cable ends running to the other battery.
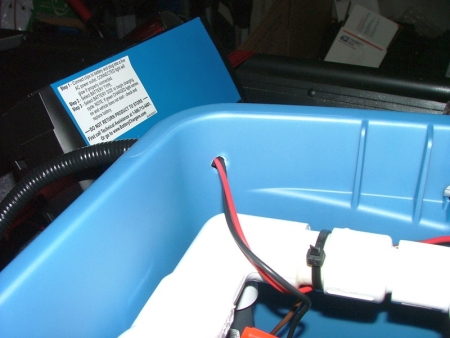
The livewell is next to wire. First, I ran the bilge pump positive wire (brown) up the riser and down the bilge side of the livewell.. this is how I determined where to place my toggle switch. I placed waterproof connectors on this, and ran an additional power line (red) back to the 12v adapter (plug-in).
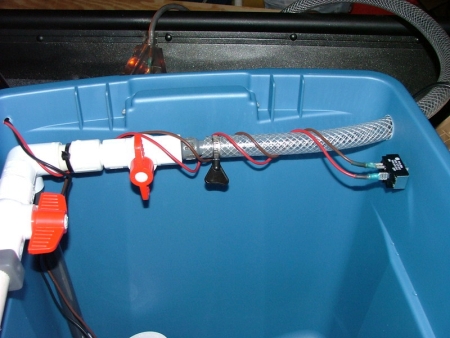
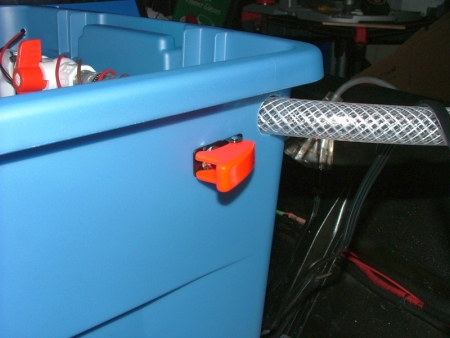
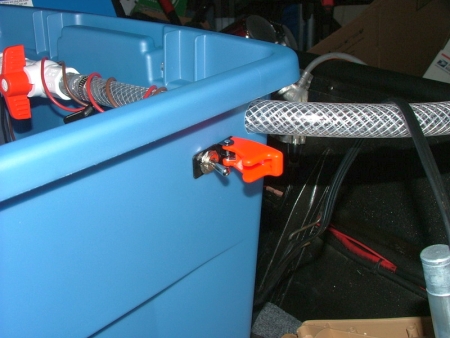
If you follow the wires to the corner, you’ll see where I drilled a 3/16″ hole to run out. I have about 36″ of positive and negative wire so that I can move the livewell around a little bit if needed.
Filling up the Livewell…
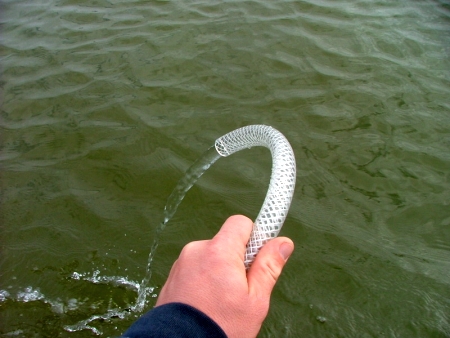
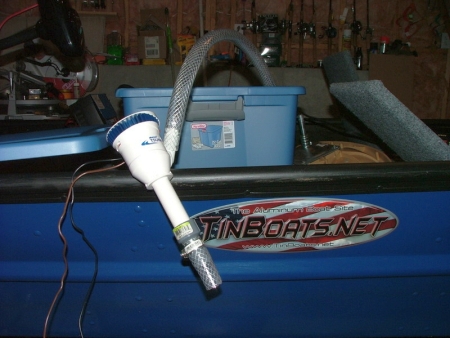
I didn’t want to carry extra stuff with me to fill the livewell with, so I got this 800GPH aerator pump from walmart on clearance for $10.. but I think it was mismarked. They didn’t look, and I didn’t tell at the register. Gotta love self check out!
Anyways, I had a longer hose to draw water up with, but that didn’t work. While out on the water today I took my knife and cut the hose to about 3″. Is it even needed? I ended up dumping the whole thing in the water and water started pouring in! I did attach alligator clips to power this – so no switch. This is temporary as it would have limited use throughout the day.
Pricelist…
Keep in mind a few things.. the braided hose I used is expensive stuff, and you don’t need to use this kind when building a livewell. This was all I could find on the aisle I was on (I built this thing in my head while in the store).
Rubbermaid Tub, 22gal – $5 @ Wal-Mart
500 GPH Bilge Pump – $20 approx
PVC Fittings – $15 (the check valves are like $4-5 each)
10′ 3/4″ pvc pipe – $2
3/4″ OD braided hose – $18 (get the cheaper stuff, but this stuff will last forever – at least it better for that price)
Toggle Switch – $10
2 – 25′ power wire rolls – $5
12v power source/plug-in – $6
Total Price – $85 roughly… You might have this stuff laying around as I did. I just priced it to help out with this post.
You don’t have to put the bilge side in the Livewell, but it sure does make it easy to drain. I put about 18 gallons of water in there today, and when I tried to pick it up… well, let’s just say that water wasn’t going to be poured out by me that easily.
Have any questions for russ010? Read the forum thread here.
This has been very helpful and will save me a lot of time and money, thank you so much