Installing boat carpet is fairly simple when you take the time to prepare. For this boat carpeting project or any boat with multiple cuts involved, I highly recommend doing the carpet in sections. It makes it a lot easier to cut and place the different sections where you want them, instead of wrestling a huge piece that may be end-up out of whack at the other end. I basically did three sections (fwd deck, mid-deck, rear deck), and the storage box was done separately, as was the inside gunwales and starboard hull. Patience, good measurements, and good cuts are the keys to the project. I did this project over 4 days, letting each section dry somewhat before moving on to the next section.
Boat:
2008 Lowe 1652VT Roughneck, all-welded jon
Materials:
– Carpet: 6′ x 20′ of Gray Marine-backed carpet.
– Glue: 1 gallon, latex, outdoor glue.
– Trowel: 1/8″ notched, rectangular.
– Utility knife with spare blades
– Sharpie Markers: Silver (for marking on the back of the black carpet backing)
– Straight-edge: 3′-6′ long, to assist in making straight cuts. Metal preferable (flat
bar/angle-iron), but wood will work.
– Template paper: Thin cardboard or craft paper (usually comes on a roll)
– Masking Tape: I used the blue painter’s tape as it doesn’t leave a residue and is easily removed.
– Pencil: for marking rough template around curves, bends, etc.
– Scissors: cutting template paper and trimming carpet cuts if needed.
– Measuring Tape
– Framing (carpenters) Square: Not needed, but helps when making square/corner cuts
– Damp rag: For wiping up any excess glue that may seep from joints. Get it before
it dries!
– Rolling pin (baking-type): Rolling-out air bubbles, leveling carpet.
Step 1:
Ensure the surface you are applying the carpet to is clean and dry. It doesn’t matter what the decking material is (wood, metal), it needs to be dry and clean.
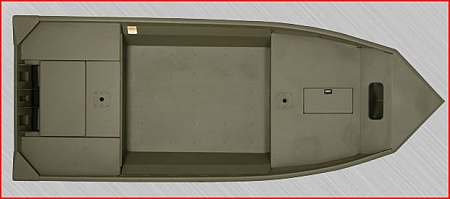
Step 2:
Cut a rough section of template paper to over-fit the section you are doing and tape it down. Using your fingers press the paper around any bends of the hull, and then mark it using the pencil. Remove the template and lay it on a clean flat surface (garage floor worked for me). Take the scissors and cut along the outside (I’d go about 1/4″) of the rough pencil line. Place the template back onto the boat, situate it, and make any necessary corrections needed. It may take a couple of times (or more) to get it right, but working with the paper first is a lot cheaper than buying more carpet.
Once you are satisfied the template is correct, get your carpet and turn it over and place the template on the carpet backing. I always made a mark on the template as to which was the top, right, left, back, etc. Some cuts may be different, depending if there are any items on the boat that are not centered, etc. Tape the template to the carpet back. After you are absolutely sure it’s the way you want it, make your cut(s). Take the newly cut piece and lay it in the boat where it goes. Double-check it.
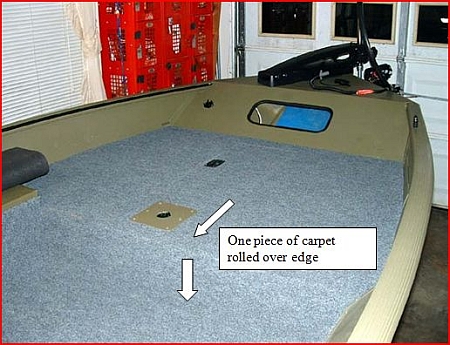
One piece of carpet rolled over edge
This photo shows the carpet on the fwd deck, which is one piece, including the section on the vertical step-up to the fwd deck. The cuts around the seat pedestal and the deck hatch lid were made after the carpet was glued-on and dry for a while. If possible, remove any handles/hardware before gluing.
Repeat the above steps for the remaining sections:
Mid-deck:
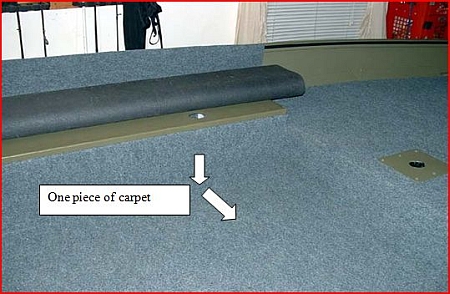
Rear deck, mid-deck, storage box, & gunwales:
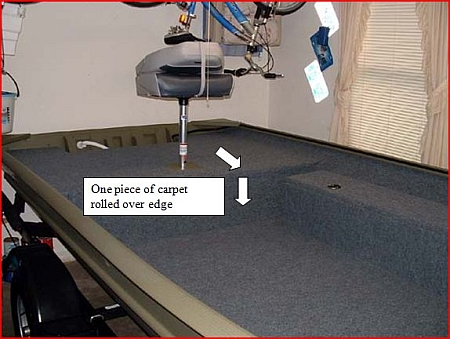
Carpeted gunwales, inside the hull, & storage box lid:
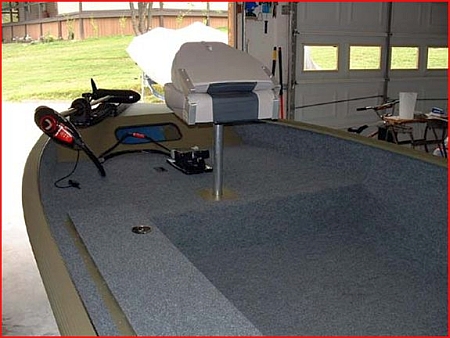
Patience is the key to any project. Installing boat carpet is not rocket science. Get your project done, and go fishing!
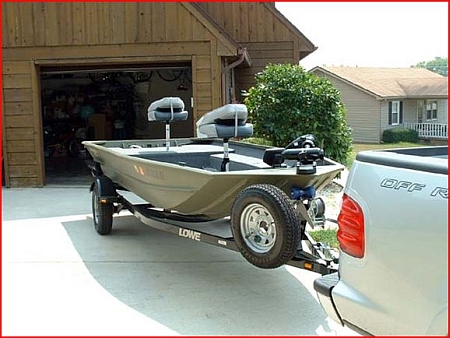
great job, looks like an expert did the work…………